Alright let's continue with these boots. You can see the first part here.
For the soles, I cut out a cardboard base out of a Kleenex box. Then I took a bit of the fabric glue and spread
it out.
And then firmly pressed the cardboard on the wrong side of the fabric.
Clipping the edges is very important for the soles because otherwise it would be nearly impossible to get the edges to lay flat.
More glue and then press the tabs down. Tada , you have one sole. Now you have to repeat the process since each boot uses two sole pieces.

All the pieces ready for the final construction.
Okay, now we are ready to glue the entire boot together. Take the first sole piece and lay it against the doll's foot like so.

Then
take the toe piece (because you want it to lay underneath the side)
and curve it around the toe. First figure out where the you want the two
edges to lay (where my fingers are). Then glue those edges down, remove
the boot from the doll and clothespin it until the glue is dry.
Once
the glue is dry, you are going to clip the edges, put it on the doll to
see how you want it placed, and glue it all down. Sorry for the lack of
pictures here, it's hard to be gluing and taking pictures at the same
time.
Repeat the same for the other piece.

Okay now all that's left is the sole. Just put a bit of glue on the sole as well as the bottom of the boot and stick them together.

Clothespin until dry...

Okay here is the boot all glued up
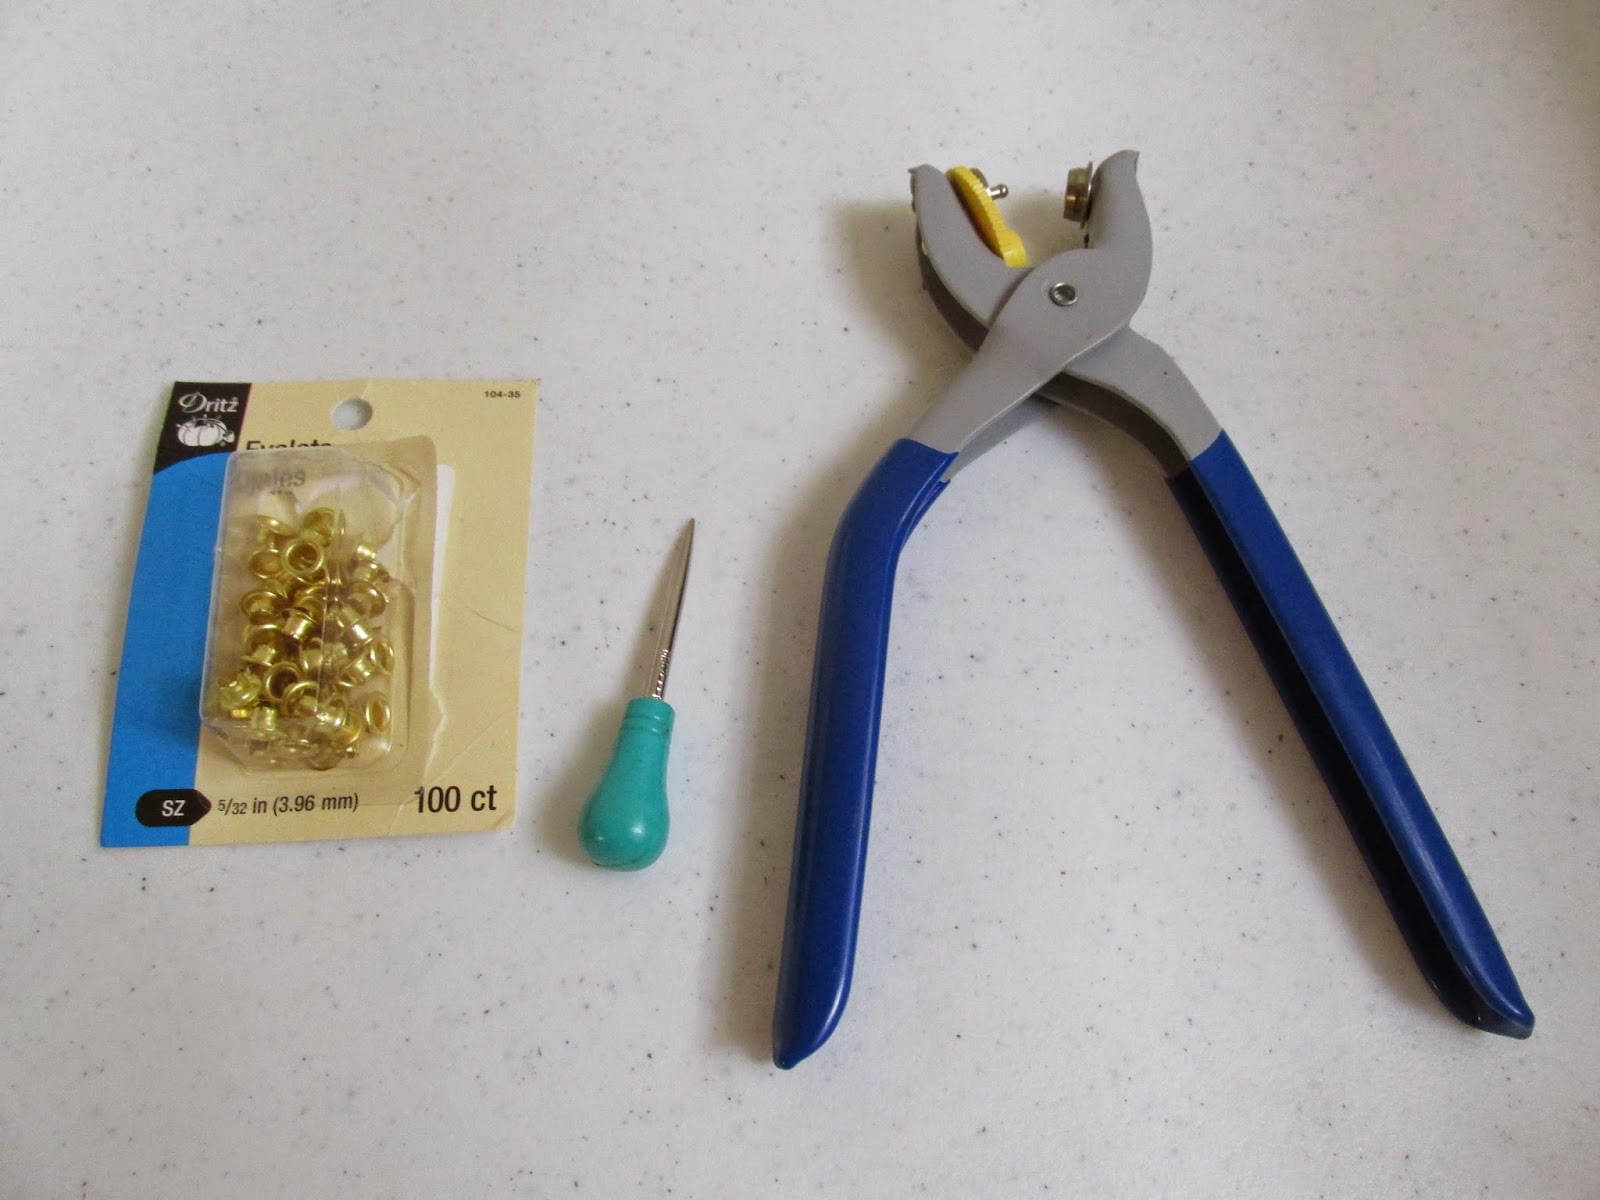
Now for the eyelets! I believe we brought the pliers and eyelets at the local JoAnns and as for the awl, I found it in one of our sewing drawers.
Decide where you want your hole to lie then slowly push and twist the awl until it goes in.
After stretching the hole a little wider, I took an eyelet, placed it on the awl and pushed it through the hole.
Smashing the eyelet.
Isn't that beautiful.
Now repeat the process until you have your desired amount of eyelets. One boot done! Congratulation! Now repeat the whole process again and get your second boot.

It's defiantly a lot of work to make each pair and requires patience and precision. However, I believe the result is simply beautiful and you won't find it at the American Girl store.
If you learned something and enjoyed this tutorial please, share it with your friends.


Cool! Thanks for posting this!
ReplyDeleteNo Problem! Thanks for reading and commenting.
DeleteCute! I nominated you for an award on my blog!
ReplyDeleteThanks so much for nominating me!
Delete